Winter Camping: Polar Vortex Edition
- At December 29, 2016
- By Brian
- In Brian's posts, Camping
 4
4
I like to plan ahead. That means when a friend and I started discussing winter camping way back in October, I whipped out my calendar and we circled a weekend in December that looked good. Fast forward a couple months and the days leading into our trip saw temperatures drop into the single digits and heavy snowfall hit the region. But this was it, the big camping trip! So did we wisely decide to reschedule in hopes of more moderate weather?! No way!
Let me provide you with some background. I’ve been camping since before I could walk and spend a lot of time outside. But, I’ve never (successfully) winter camped (I did have one attempt a few years ago thwarted by gale force winds). So this has been on my to-do list for a long time and I was really anxious to make it happen. Enter Jason, a long-time friend and new Northern Swag contributor (bio coming soon!), who is a former outdoor guide in Alaska and has vast outdoor experience and mad survival skills. So when we saw the weather forecast for our trip shape up to be pretty cold, confidence & motivation remained high and we weren’t deterred.
Our location, Guernsey Lake State Forest Campground, nestled next to the Sand Lakes Quiet Area, was selected due to my familiarity with the sites, trails, and access roads. It was the first place I ever camped, when I was an infant, and I’ve been camping, skiing, trail running, and biking there consistently ever since. It feels remote, but is relatively close to Traverse City, has great trails, good fishing, and nice sites. It’s also open year round. I decided to do some reconnaissance mid-week to see if the campground was even accessible. Fortunately, the roads had been plowed. Unfortunately, it looked like they’re only plowed occasionally, maybe once a week, and clearly not after every snowfall. I made it to the campground during my recon trip in my Honda Element (love that car!) without any issues, but the next few days after that and prior to the trip saw heavy snow.
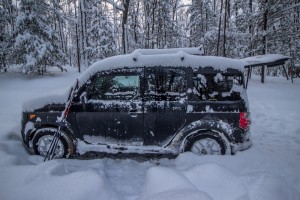
We left early in case it took us awhile to get to camp so we would still have plenty of time to set up our shelter. That was a good call. The roads had definitely not been plowed and we struggled through knee deep snow until we found ourselves facing a rather steep climb, with nowhere to turn around if we didn’t make it. Attempt number 1 wasn’t even close. So we got the shovel out and cleared the road. Next we cut some branches down and laid them on the road, perpendicular to the direction we were going, on the steepest part of the climb, to assist with traction. It worked! We made it to the campground shortly after that without issue.
- This hill gave us some trouble
- Trying to make it to camp
- Frozen Guernsey Lake
- Site 22
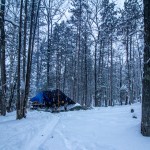
- Camp
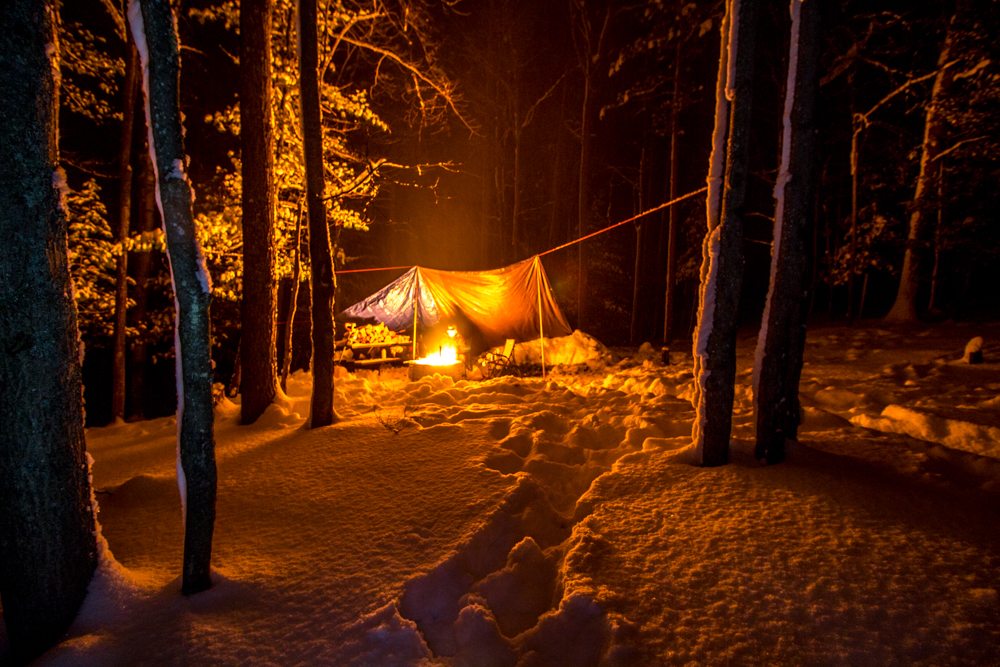
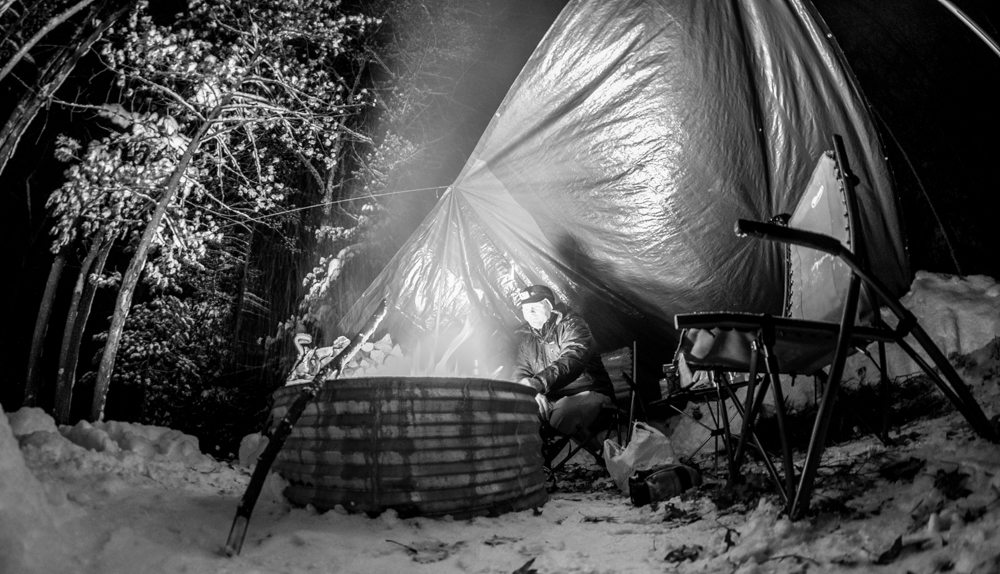
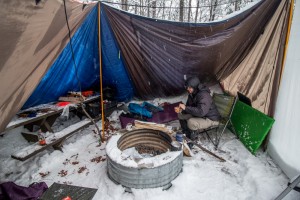
Our top 2 priorities once we arrived were 1) get a fire going, & 2) build our shelter. The low that night was going to be 15 degrees with 15 mph north winds, making it feel like it was around 0 degrees. We originally planned to sleep in hammocks to keep ourselves off the cold ground, but weren’t able to find a decent grouping of trees where we could hang them near the fire, while also putting our tarps up to block the wind. So we ended up cutting some pine boughs to make our “beds” on the ground, next to the fire. Underneath that we laid a tarp so when the fire melted the snow underneath us, we wouldn’t get wet. On top of the pine boughs we had Therma-Rests, and then sleeping bags.
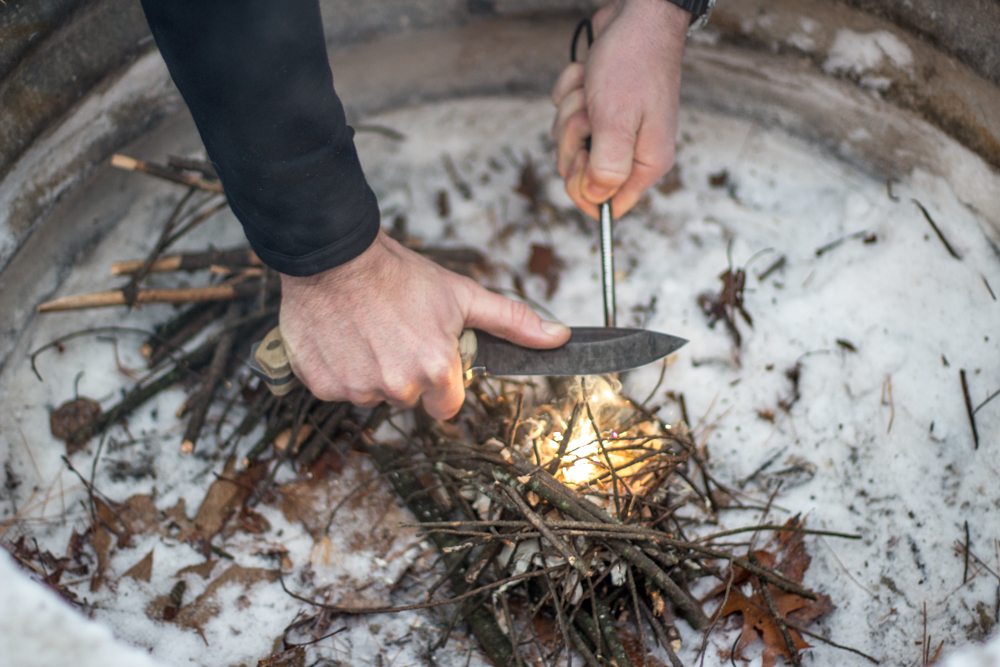
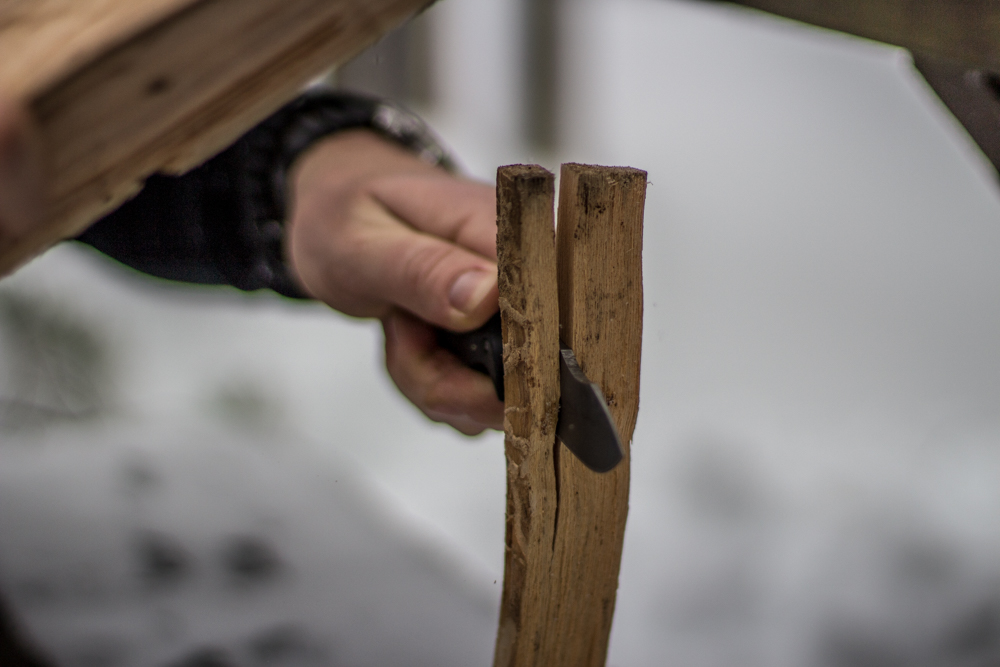
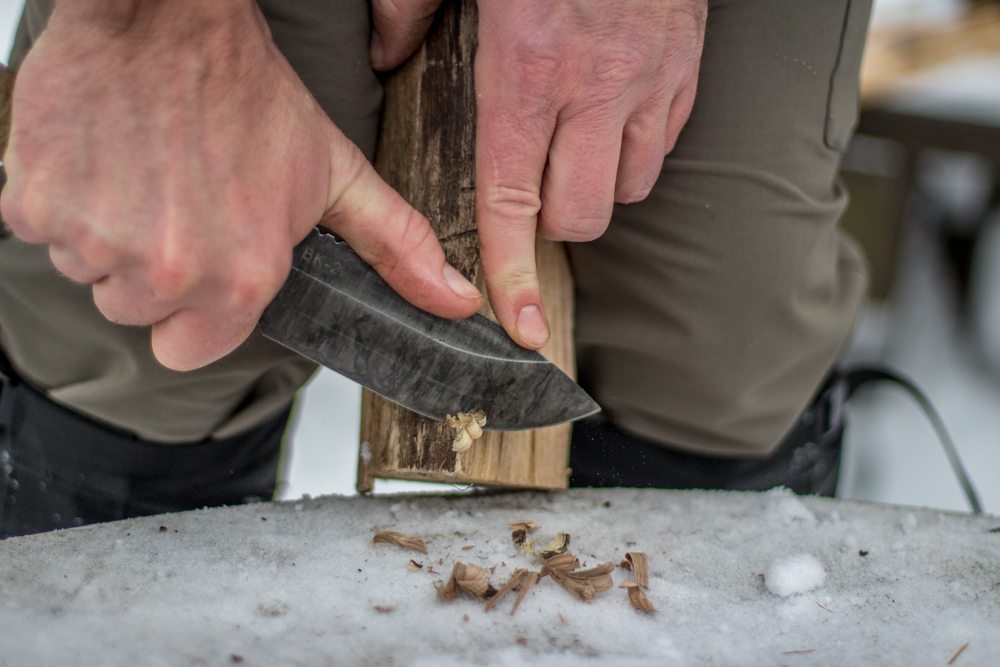
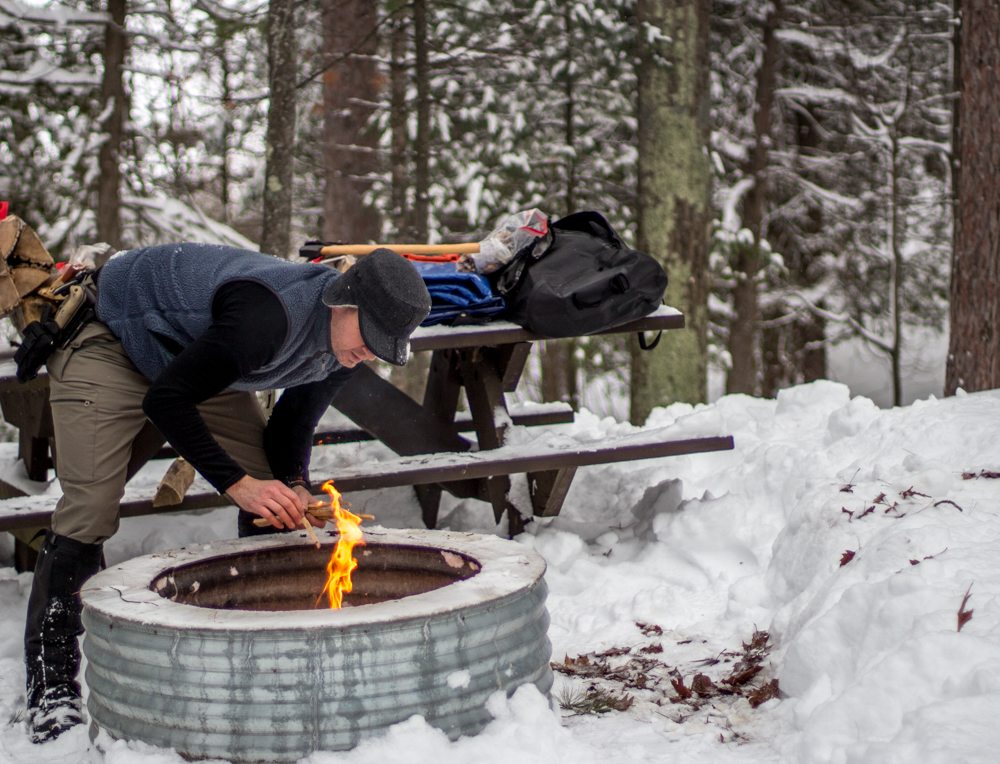
We brought some firewood, but were able to harvest more from dead trees we found in the woods. The key to using that wood is having a hatchet or bushcraft knife so it can be split open to get to the dry wood inside. Despite the fact that we brought matches, Jason decided to light the fire in true badass bushcraft manner, using a ferro rod and his knife.
- Splitting Firewood
- Wood shavings for starting the fire
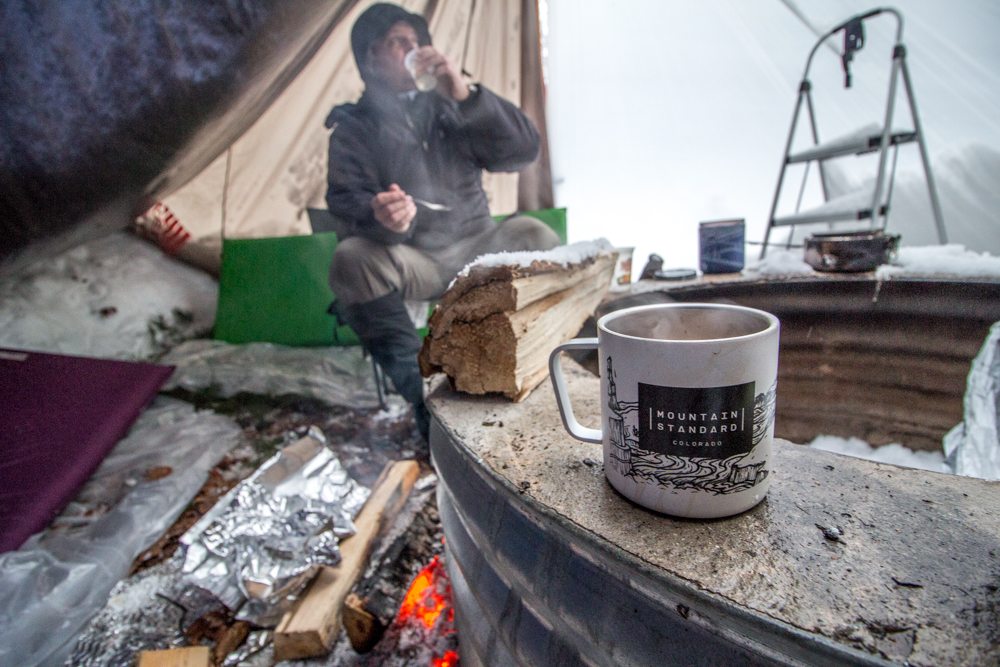
With the fire made, plenty of firewood, and our tarps up, it was time to relax until nightfall when we planned to do some light-painting photography. We heated up some soup in the fire and took a couple nips of bourbon to keep our bellies warm.
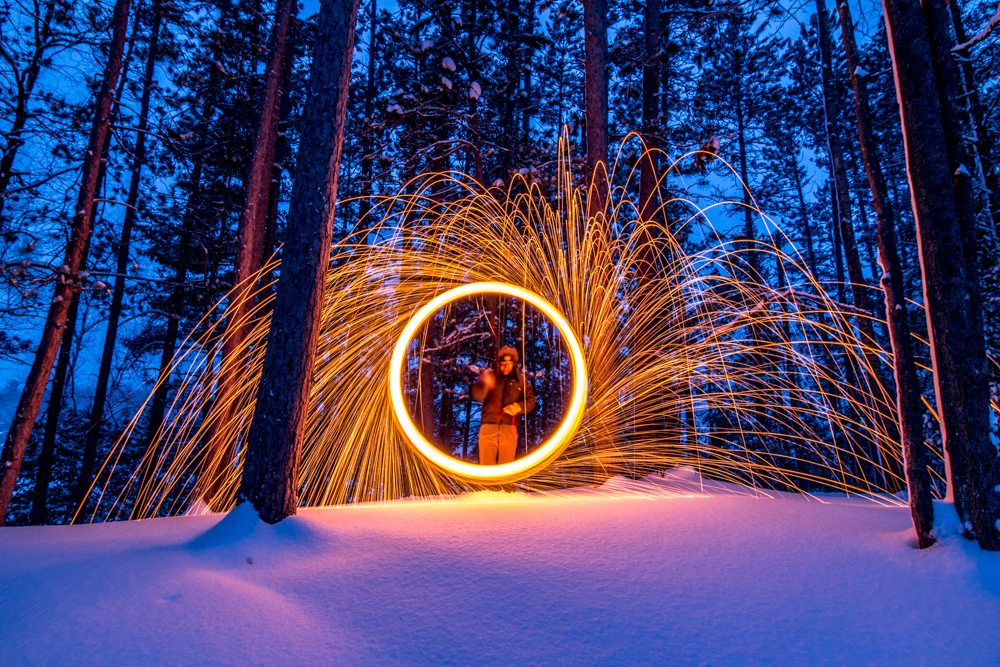
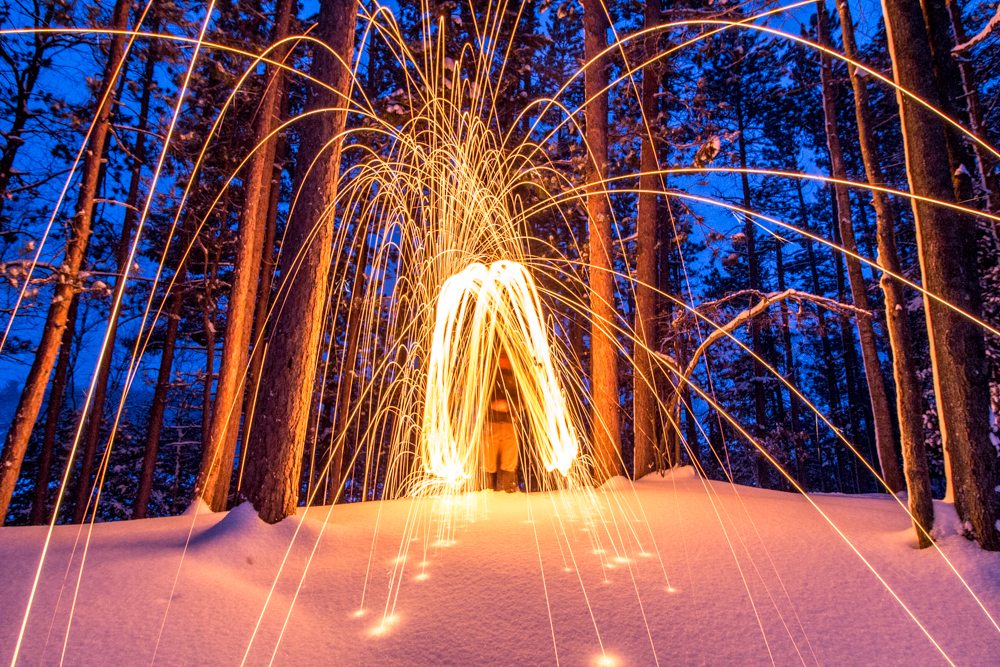
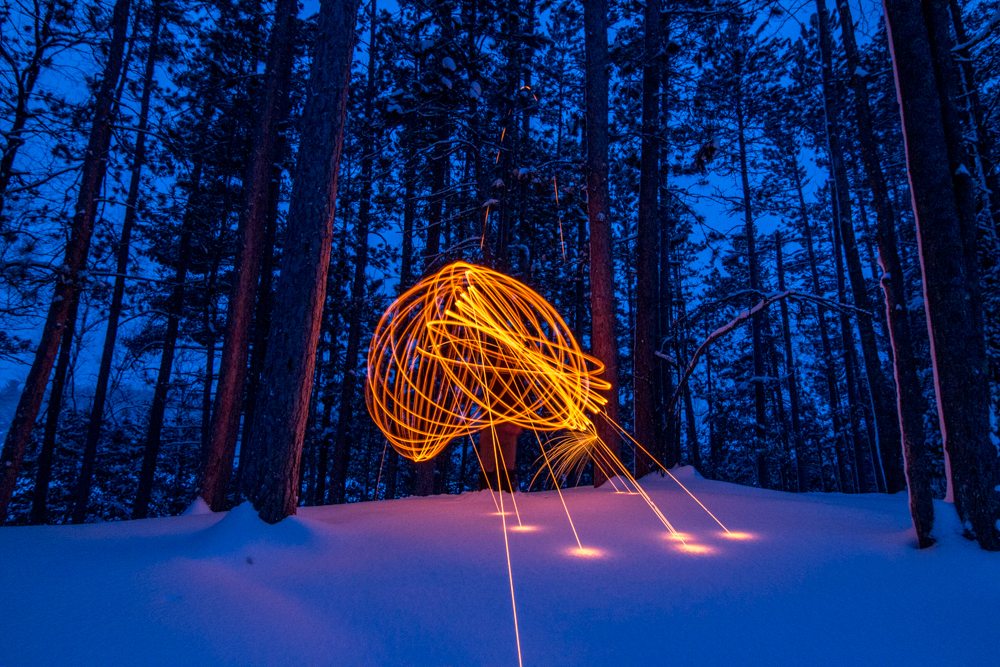
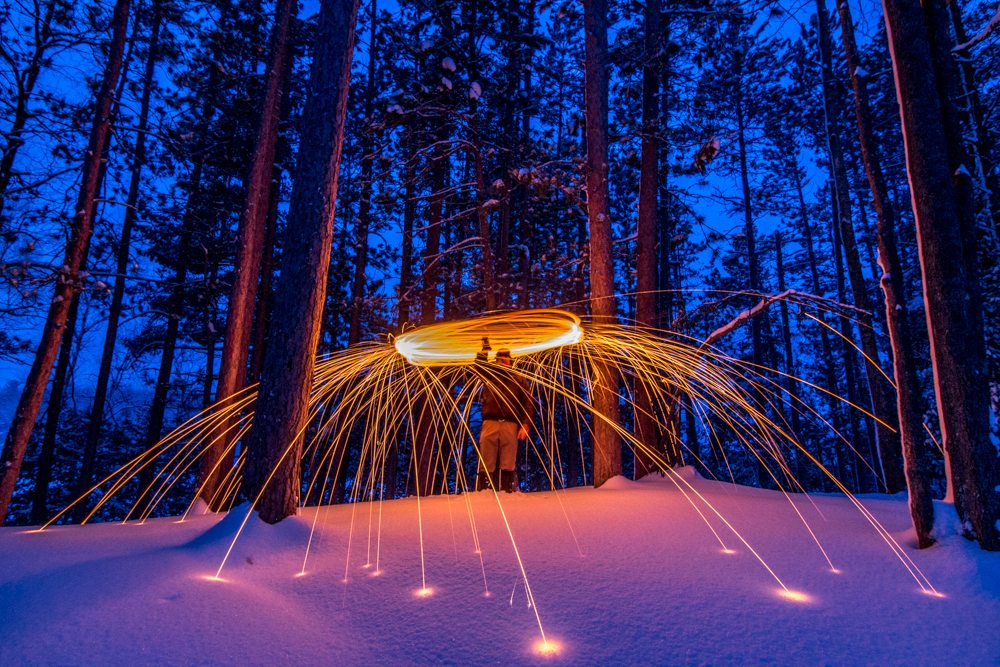
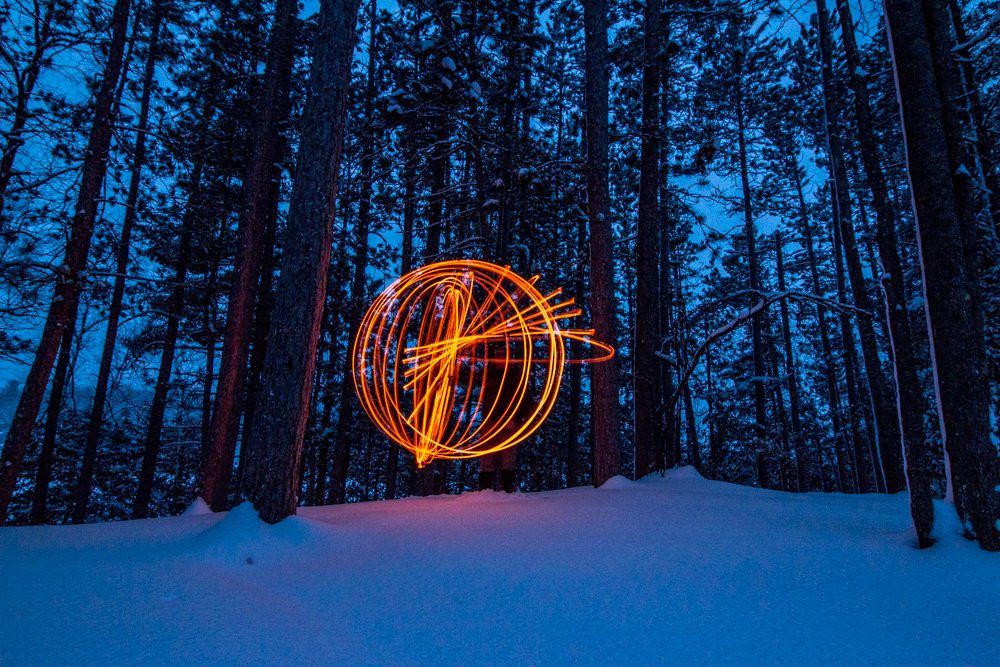
Once the sun set we got out our camera gear and had some fun lighting steel wool on fire for some cool long exposure photos.
- Light Painting
- Light Painting
- Light Painting
- Light Painting
After our camera batteries died (rather quickly from the cold), it was time to settle in for the night. For additional warmth, we took some coals from the fire and laid them on heavy duty aluminum foil near our sleeping area and used wet logs as a barrier between us and the fire. This worked remarkably well as we remained comfortable all night.
After a quick breakfast the next morning, it was time to head home as both of us had family/holiday obligations. However, we did briefly discuss when we could get out again and are trying to fit in a multi-day trip later this winter. Hopefully the weather is a little kinder next time!
- Making Breakfast
- It snowed. A lot.
- Sunshine!
While Jason and I are both experienced campers (Jason much more than me), we learned a ton during this trip and would do a few things differently. Between what we knew beforehand and learned on this trip, we put together a hit list of winter camping tips:
1) Layer! We all hear this a lot, but it is truly important. Between shoveling snow and sitting down doing nothing, our heat levels changed drastically within minutes (especially when we were sweaty from the exertion of shoveling snow or chopping wood), so it was important to be able to shed and add layers quickly. For me personally, I had a long sleeve wool baselayer (wool is awesome! wicking, quick drying, breathable, & warm!), thick flannel shirt, and then a down jacket for when I wasn’t moving around. I also wore midweight capilene “long johns” underneath softshell pants, tall wool socks, and high winter boots.
2) Be prepared to adapt. We arrived at the campground with the intention of sleeping in hammocks, but knew that we may not be able to find trees that were suitable, so we also brought sleeping pads, which we ended up using.
3) Purchase and throw some painters’ tarps in your gear kit. We had our usual tarps (I have two of these and use them all the time, not just for camping) to build our shelter, but later in the evening the wind started swirling through the winds, constantly changing directions, and we had to bust these out to add walls to our shelters. They’re cheap and worked marvelously in keeping the wind out.
4) Know your down/insulation. Down is known for its amazing warmth to weight ratio, but many people don’t know that it can’t get wet. If it does it loses its thermal capabilities and is also awfully difficult to get dry. If it’s going to be wet, rainy, or snowing heavily, use synthetic insulation.
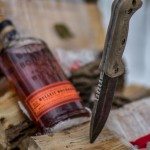
5) Bring a good bushcraft knife. For car camping this may seem unnecessary, but we both had ours, and used them constantly. From cutting down bedding, to splitting firewood, to starting our fire, to preparing our meals, they’ll come in handy. Jason uses a KA-BAR Becker BK-2, a great knife that can be found online for around $75 (awesome value). I brought my Tops Black Rhino and was very pleased with its usefulness and quality. The thickness of the Black Rhino made splitting wood incredibly fast and easy.
6) Invest in good boots and gloves/mittens. There were a few times during the night when my back and face got a little cold, but my fingers and toes were warm and that kept me happy. If your digits get cold, it’ll ruin your trip incredibly quickly.
A few winter photography specific tips:
7) Bring extra camera batteries and keep them in your pocket, close to your body, so they stay warm. My batteries died pretty quickly in the freezing temps, but I had plenty of extra and so was able to keep shooting.
8) Try to keep your camera away from your body. If it gets too close, or if you breath on it, you’ll cause condensation to form. If you do get condensation on your lens, make sure you have a microfiber cloth to wipe it off with.
9) I prefer fingerless gloves when shooting in cold weather. I can keep my fingers warm when I’m not actively taking photos and also quickly get my fingers out to use my camera, without having to completely remove my glove/mitten. I used these from Outdoor Research and they work very well (although there are warmer ones).
10) It gets dark early in the winter so make the most of that. We did so by bringing steel wool to do some long-exposure light painting. It was a total blast and kept us from just sitting around the fire drinking bourbon.
Any other winter camping tips or stories? We’d love to hear from you! Please feel free to share in the comments.



sally
I remember my first winter camping over over 50 years ago.At the time we lived in Toledo and drove up to Irish Hills, the wind was blowing like crazy and we found a little cement wall and we put our tent next to it to help stop the wind. All we had was a little pup style tent and it was snowing so hard but we got everything set up and made our bed in it.We fell asleep listening to the winds howling in the pines. What a night I fell asleep right away but about 3 am my husband woke my up and he was cold so we made a mad dash to the car and he had made a thermos of coffee the night before. As I look back thats the one thing I do when camping now is always have a thermos of coffee ready for the morning because in the morning your usually cold. What a memory!
Brian
Sounds like quite an adventure, thanks for sharing!
jerry
“badass” was right the first time
Dad
I think you made a good decision to sleep on the ground (with insulation, of course). In the winter, there is a lot of cold air moving under the hammock (or cot or lounge chair) that will rob body heat and make a night miserable. I hope to read of further winter exploits. Don’t let Jason lead you too far astray! Great photos; I enjoyed them!